


Quick Ten Minute Planner Clips Using Washi Tape

Hey, everyone! Hope you've had a
wonderful
start to spring so far! It's
Caitlyn
back on the blog to show you how to make some really easy planner clips! Want to know how easy? They should take 10 minutes or less!
Wow
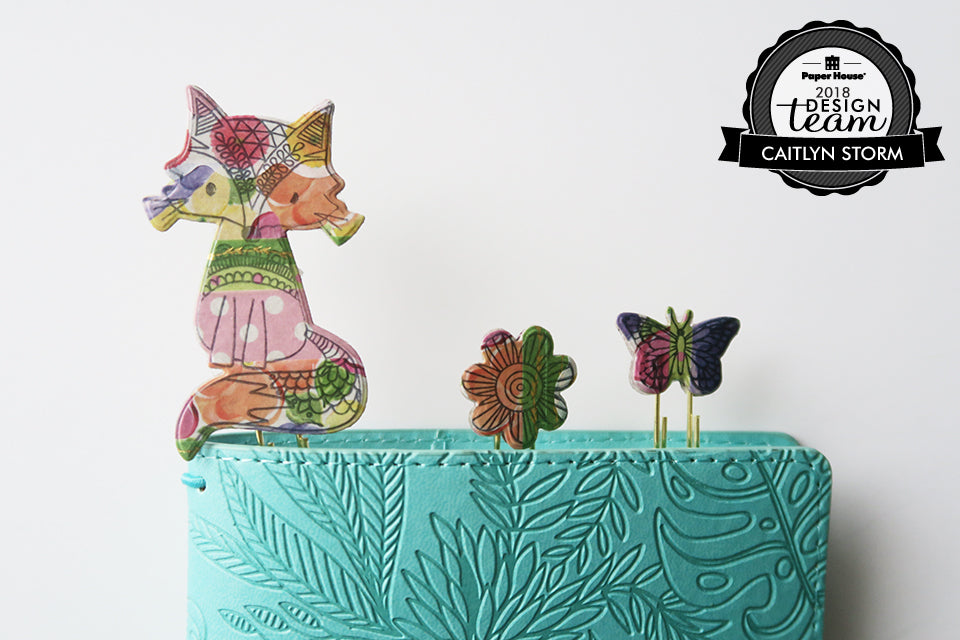
. Planner clips are such an easy way to add personality to your planner. Those within the traveler's notebook community truly take their planner clip game to the max. Often times you'll see photographs of just the top part of their notebook, showing off all of the beautiful clips they've collected. The best part of these particular clips is how different you can make these - just by using washi tape!
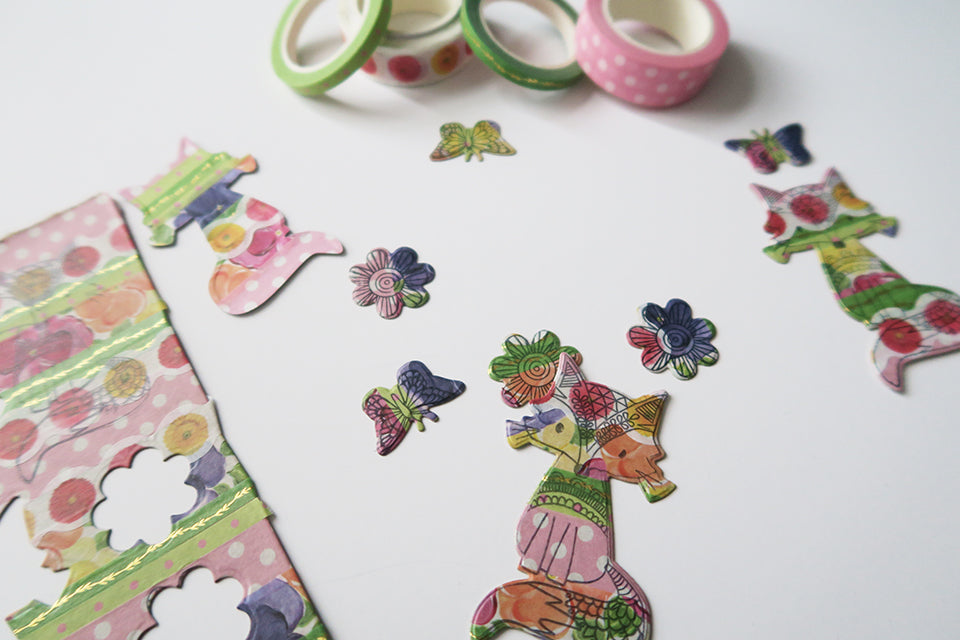
There are several steps to take to get to the point shown in the photograph above. The first step is to take thin cardboard, like from a cereal box. Once you have your chosen material, you can start to create your diecuts. Place strips of washi on your material in any order that you would like. Depending on how you're cutting your diecut, these next few steps will change. For this particular project, I used a stamp and diecut set. I stamped my design first and then moved along to cutting the diecut. It's very important to line your diecut up with the stamp. If you're not using a stamp you can proceed to just cutting the diecut.
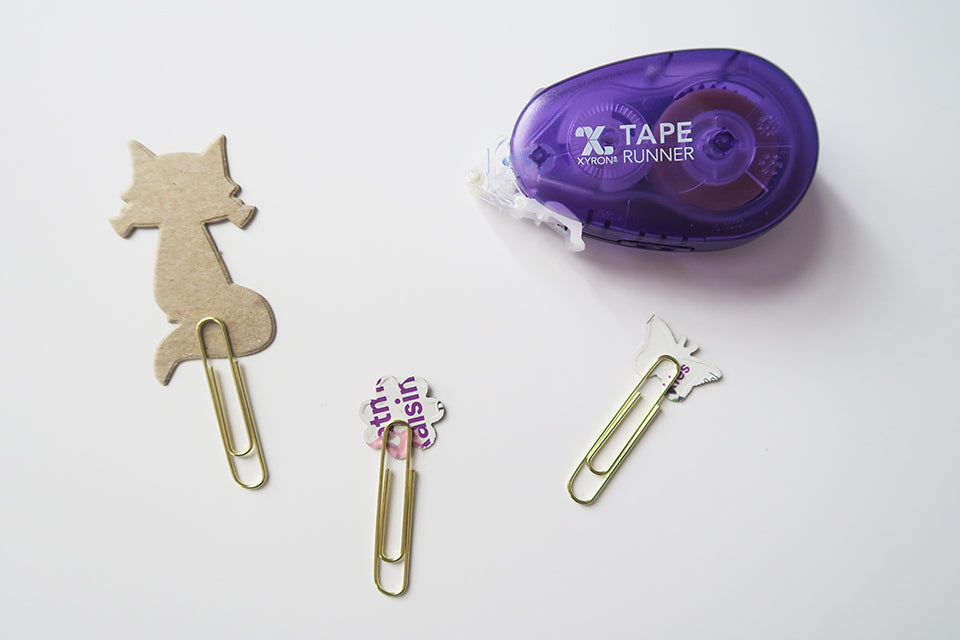
Now we can start assembling your clips. Take one of your die cut pieces and lay it face down, blank side up. Use your Xyron tape runner to apply adhesive to the bottom portion of your die cut. Then place your paper clip down on the adhesive.
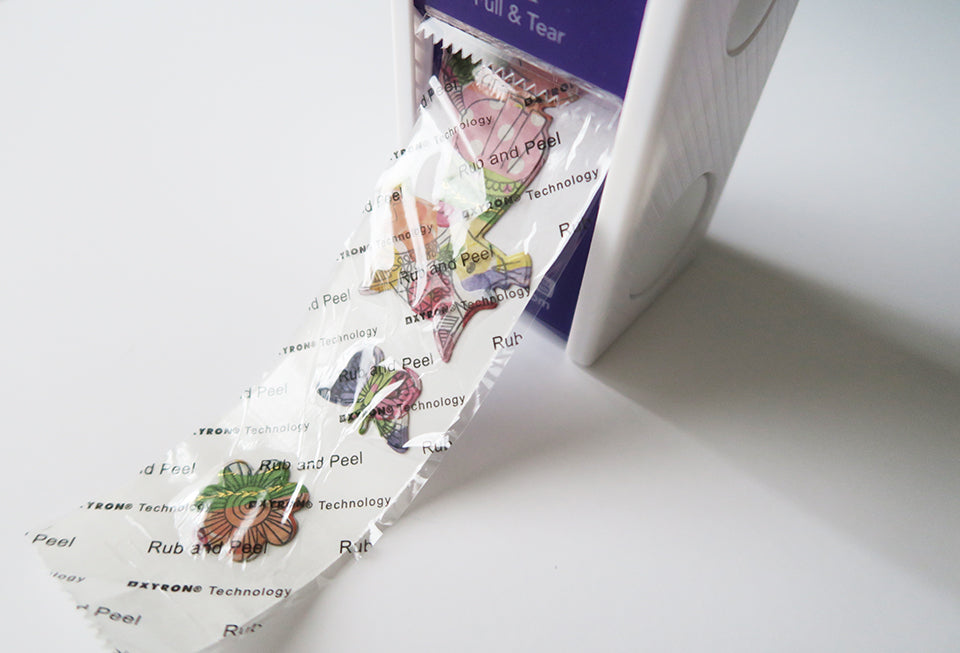
Instead of using the tape runner for the other half of the clip, I used my Xyron Sticker Maker. Using Xyron's Sticker Maker machine allows me to add adhesive to pieces quickly and accurately. To add adhesive place your element into the machine, keeping the design side up. Then you will pull the adhesive paper on the other side to help guide the object through the machine. The Sticker Maker helps you make sure that you have adhesive on the full design. This helps to create a nice seal on your two diecut pieces, making sure that your paperclip will stay in place.
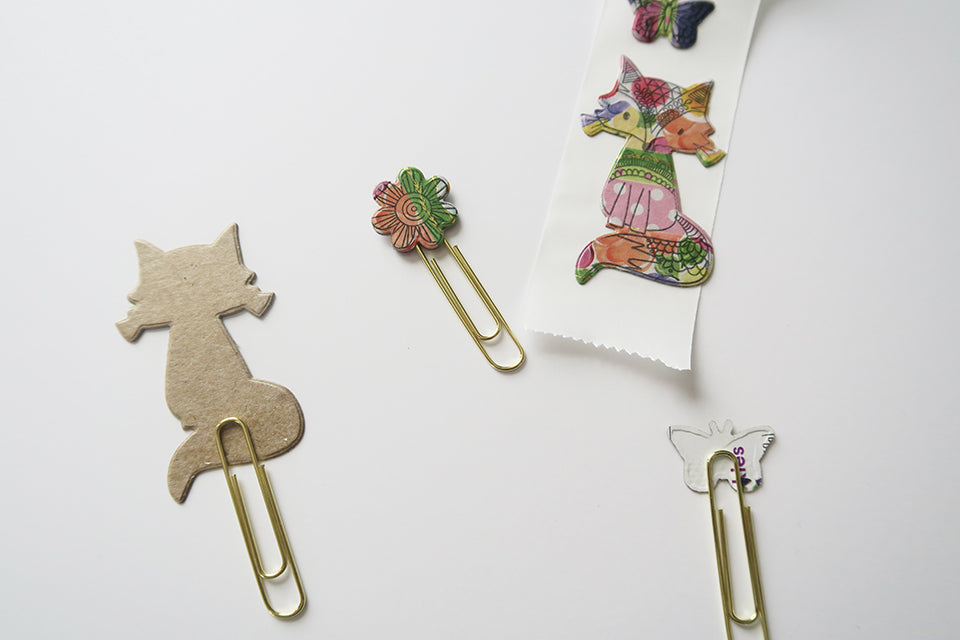
In this photo you can see the first clip completed. I very carefully matched the shape to the second diecut and then pressed the two pieces together, creating a sandwich. I then repeated this process two more times to put together the other two clips.
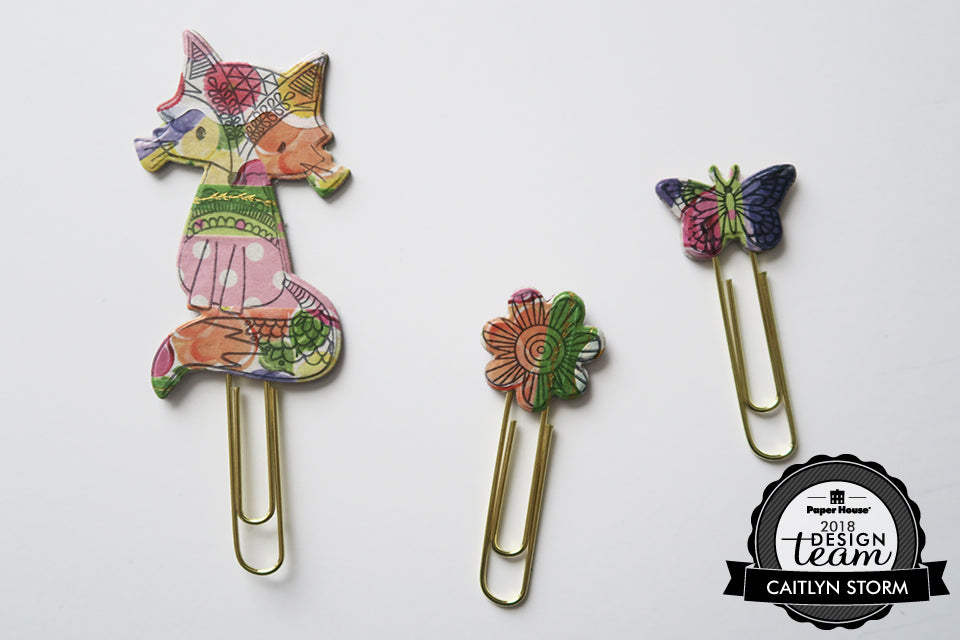
Now you should have your completed planner clips! The total time from start to finish each clip was around 10 minutes, making this particular project not only easy, but fast. I hope you all enjoyed this super easy project! I hope you all start to create your own planner clips to add to your planners. XOXO, Caitlyn
Products Used
:
Pansies Washi Tape
,
Carole Shiber Polka Dotted, Soft Pink & Honeydew, Washi Tape Set
,
Gerbera Washi Tape Set
,