Harvest Blessings Fall Home Decor Fence

Hello crafty friends! Â
Melinda
here with you today and I am super excited about my project. We were tasked with making something "off the page" and so I decided to make a Fall Home Decor Fence.
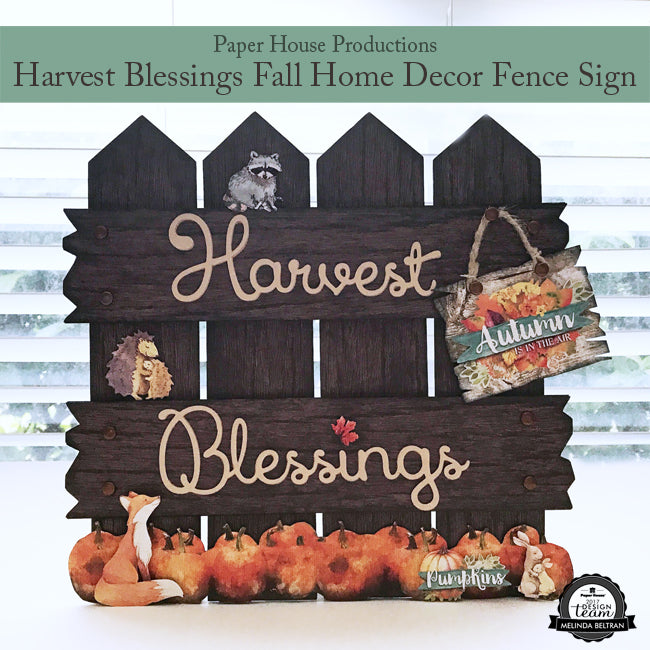
Supplies Used: The Great Outdoors Paper Crafting Kit, Autumn Air Scrapbook Paper, Autumn Woods Cardstock Stickers
I started by creating my cut file. I didn't have anymore chipboard so I used several sheets of brown cardstock. Once I glued all the layers together, I cut out the pieces from my brown wood paper that came in the Great Outdoors paper crafting kit. I liked that this particular piece of patterned paper had a wood grain with no "planks look" I could cut the fence pieces out with out worrying about having any odd lines.
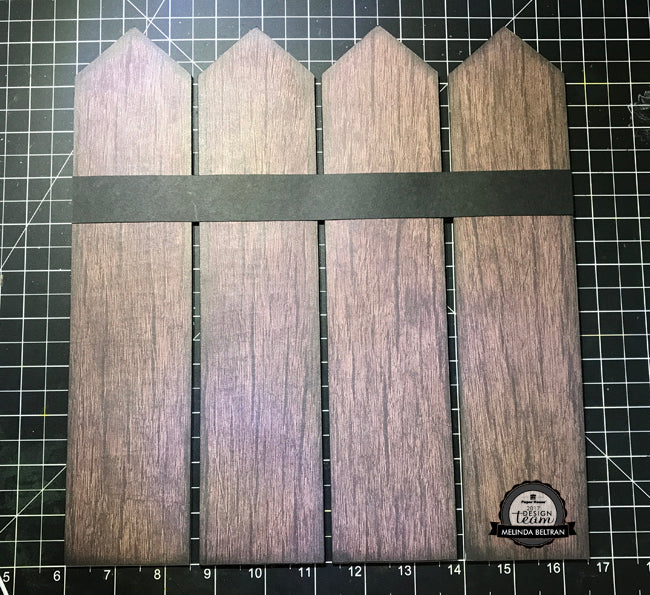
Next I assembled my fence posts and lined them up. I then adhered the horizontal planks to make the fence pieces hold together. Â I added some brads to give the appearance of nails.
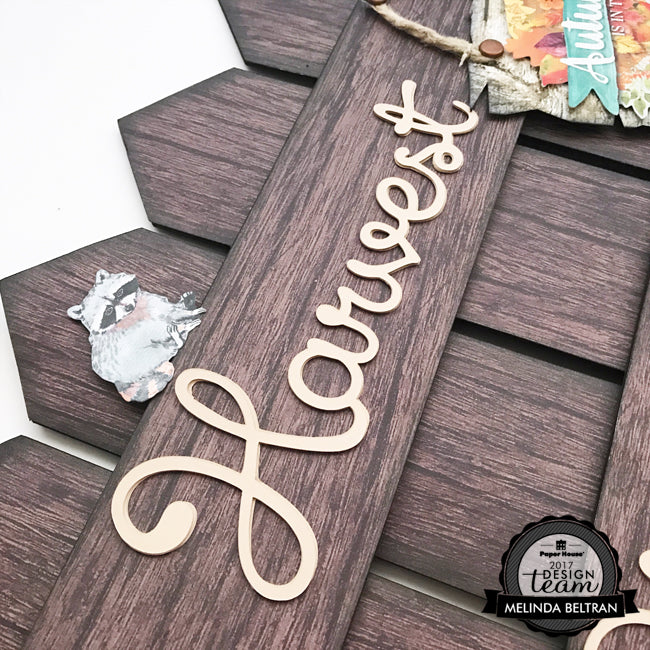
I then designed and cut four layers of the harvest blessing. I glued and stacked the four cuts to add some strength and a bit of dimension to the words.
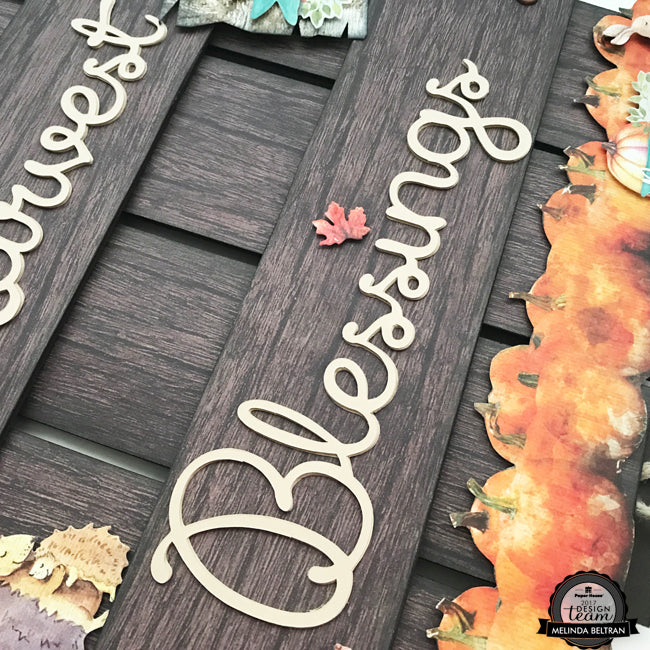
Next I fussy cut the pretty pumpkins from a piece of the Autumn Air paper. The weight of this paper is great. Not too flimsy at all. I added some foam tape to the back and they made the perfect border for my fence.
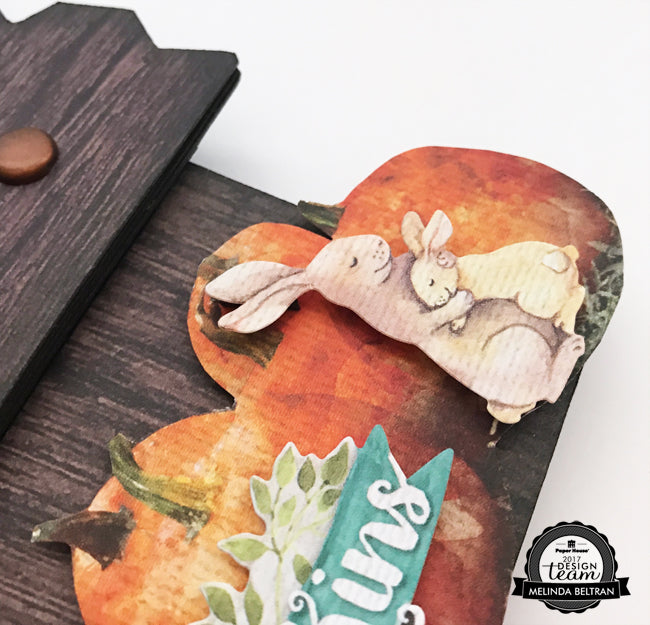
I then turned to my cardstock sticker set and added the sweet little animals. And the little pumpkin sticker at the bottom.
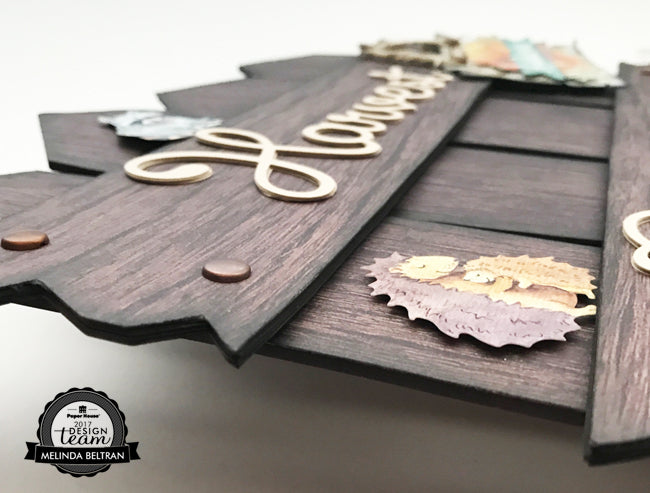
This view shows how the layers of cardstock gave the pieces a nice thick look and a very sturdy feel.
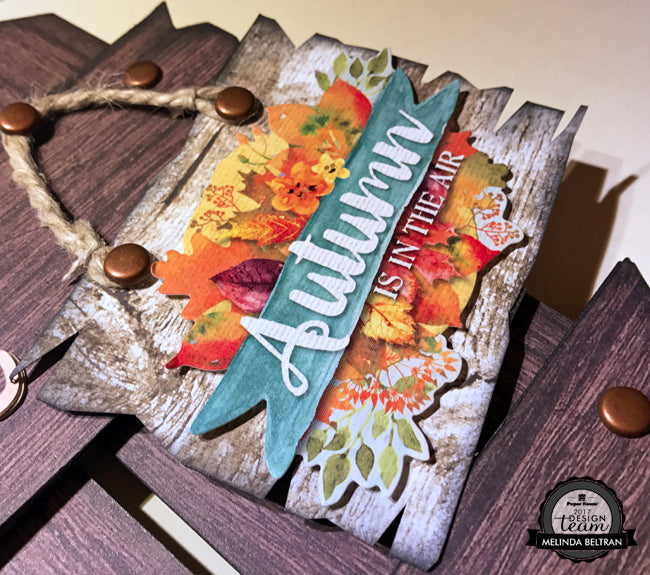
I then created this fun little sign to hang with another sticker and added it to a piece of the same Autumn Air paper. It has a wood grain look too. I used some hemp to hang it and some more brads.
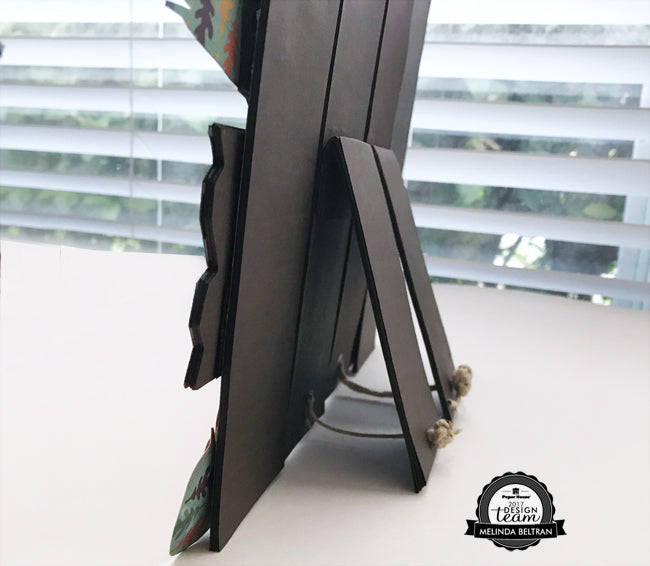
For the back I simply cut strips of cardstock at 2.25 x 12. I scored each strip at 1", 6" and 11". I folded each strip in half and glued it together. I folded the 1" pieces so that they would act as a hinge and glued it to my project. I glue about four of the strips together to make each leg nice and sturdy. I used a hole punch to punch a hole and then knotted some hemp and then glue it to the other side through the holes so that it would act as the bottom part of the base. This way when it's time to put it away, I can lay it flat for storage.
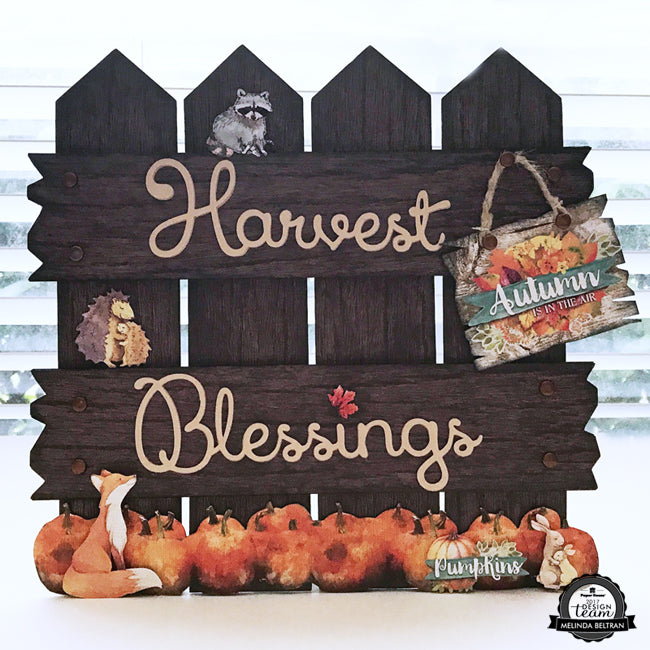
Here's one last look at my completed project. If you would like to create your own project be sure to head over to
the store
and purchase your stickers and paper. Â I am sharing the cut file pattern with you here for a limited time. If you have a craft cutting machine that uses: AI, DXF, SVG, STUDIO or WPC files, then you can use this file.

Sorry, link expired.
Well, that about covers it for today. Be sure to stop back by and see what the rest of the designers are creating. Also, please stop by
my blog
and see what else I am up to! Â Until the next time, Have a wonderfully crafty day!


Leave a comment