


Faux Enamel Pins featuring Faux Enamel Stickers

Hello Everyone! This month, the design team was asked to make a project using one of our favorite products from Paper House. I have been on the design team for almost six months and in that period, I have used Paper House’s scrapbooking paper, washi tape, stickers, planner supplies, and more. However, even though all of Paper House’s supplies are equally as amazing, there is one that is my absolute favorite. That my friends is Paper House’s Faux Enamel stickers! If you are not familiar with the Faux Enamel Stickers, they were released earlier this year and are so adorable! Each Faux Enamel Sticker pack has a specific theme and contains about 10 to 13 stickers which are very vibrant in color. Besides the colors being vibrant, each sticker is lined with a hint of gold which gives the whole sticker an extra ''pop''. Since the Faux Enamel Stickers are my favorite product, I thought it would be fun to combine my favorite product with one of my favorite collectibles. That collectible being, enamel pins! So, today, I and going to so you how to turn these Faux Enamel Stickers into Faux Enamel Pins!
To create your own Faux Enamel Pins, you would do the following:
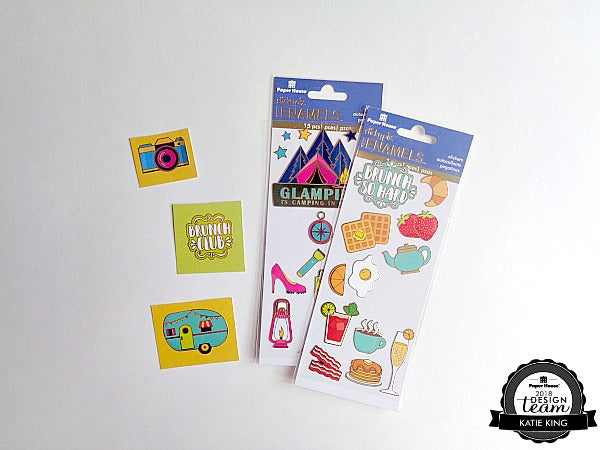
Step 1: Grab your favorite Faux Enamel Sticker pack and stick them onto some sturdy cardstock. Once you have added your stickers to the cardstock, cut them out. When choosing your stickers for this project, there are a few things that you should keep in mind: 1. Choose stickers that can easily be cut out and that don’t have that much negative space. For example, in the Brunch Faux Enamel Sticker pack above, the coffee mug would be diffcult to turn into a pin because of the negative space between the steam. 2. Consider what type of pin blanks that you have for your stickers. For example, if you have a long bar pin blank (see an example in step 3), you would not want to use it on a small short sticker. Above, I am using the Glamping Faux Enamel Sticker and Brunch Faux Enamel Sticker pack.
Step 2: Now apply a thin coat of Dimensional Magic to the top of your Faux Enamel Sticker. When applying the Dimensional Magic, you may want to have a toothpick handy, so you can pop any air bubbles. At first, the top of your enamel sticker may look ''cloudy'' but that's ok because it will dry completely clear. After you finish applying the Dimensional Magic set your enamel sticker aside to dry for 24 hours.
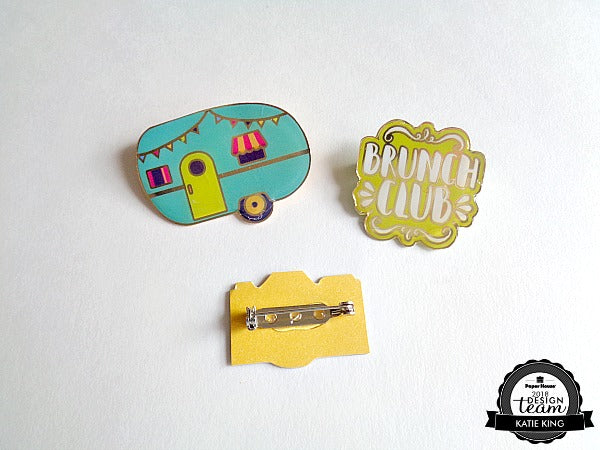
Step 3: When the Dimensional Magic is dry, flip your enamel sticker over and glue on a pin blank (I'm using a long bar pin blank) and set them aside to dry. Once your enamel sticker pins are dry, you are ready to wear them!

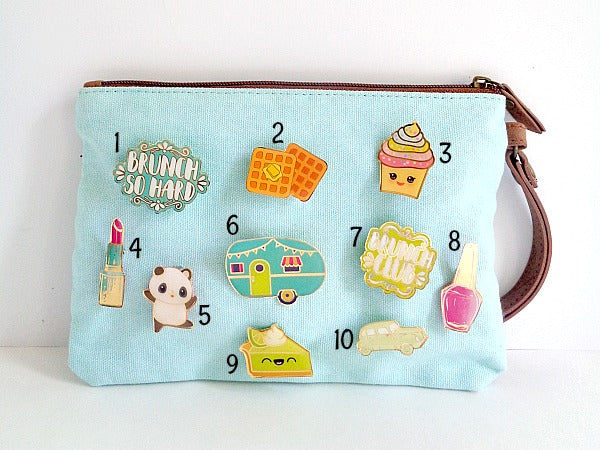
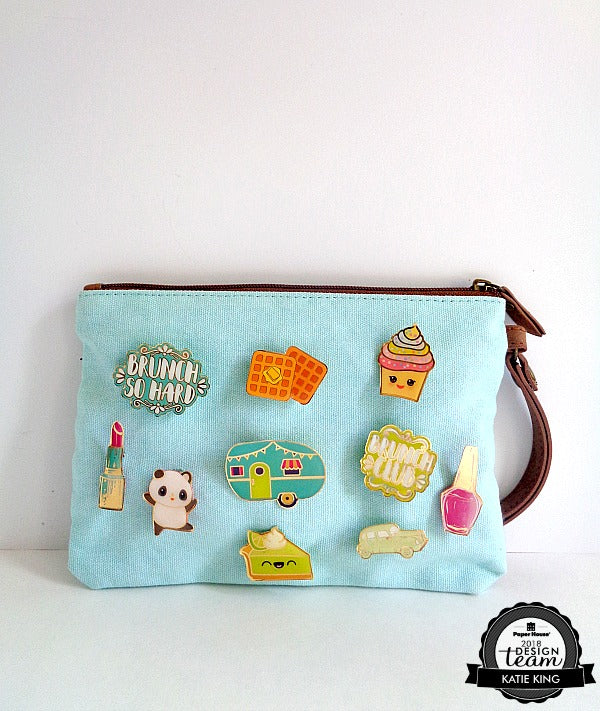
Once you are done creating your enamel pins, you can easily wear them, display them, or add them to a plain bag! With that in mind, I would be careful with these ''pins'' since they are still stickers and not actual enamel. In the last picture, you will see that I number each of the pins. Below, I listed the specific Faux Enamel Sticker pack, that the sticker came from. 1, 2, 7:
Brunch Faux Enamel Sticker
3,9:
Kawaii Faux Enamel Sticker
4, 8:
Glam Fashion Faux Enamel Sticker
5:
Pandas Faux Enamel Sticker
6:
Glamping Faux Enamel Sticker
10:
Paris Faux Enamel Sticker
Faux Enamel Pin Supply List:
Glamping Faux Enamel Sticker
,
Brunch Faux Enamel Sticker
,
Kawaii Faux Enamel Sticker
,
Pandas Faux Enamel Sticker
,
Paris Faux Enamel Sticker
,
Glam Fashion Faux Enamel Sticker
Thank you so much for stopping by today and for taking the time to read my project post for Paper House Productions! To follow along with all the fun stuff at Paper House Productions, don’t forget to like them on
and to follow their
Pinterest page
for more project inspiration. Happy Crafting! Katie