Making a Landscape Christmas Card with Cute Stickers
Hi! It’s Kinjal, and I’m back on the Paper House Card Making blog to show you how to prepare early for Christmas this year.
I have seen a lot of people in the card making community getting a jump on Christmas cards by making at least one or two every month. It’s a great idea, so here we go!
I will be sharing two handmade card creations today. The first one is a slimline horizontal car, and the second is a gift tag to attach to a Christmas gift.
Project 1: Making a Horizontal Christmas Card
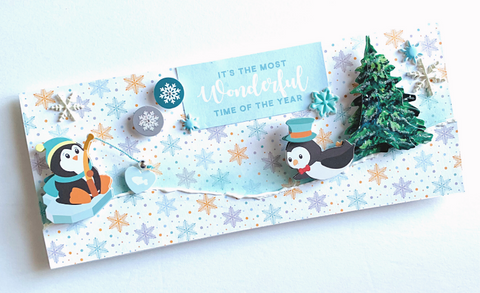
This card captures all the snowy feels of a Christmas wonderland! And what is a winter wonderland without some adorable penguins playing in the snow?
Let's start with a folded note card base measuring 3.5 x 7 inches. This horizontal orientation provides more width to showcase your winter landscape. It’s also the perfect size to enclose a cash gift for someone special, like a hair stylist or babysitter.
Step 1: Create a Hilly Background for Your Landscape
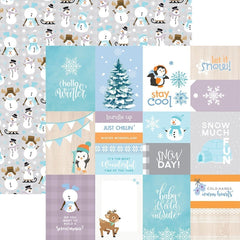
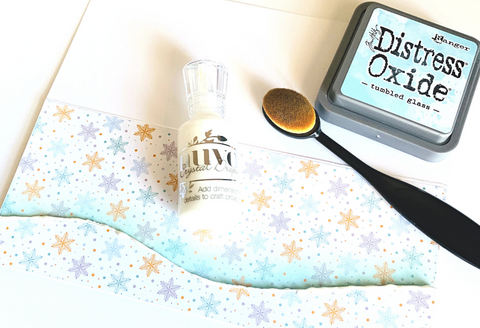
Cut out a front panel using the Just Chillin’ Tags Scrapbook Paper. This will become the snowy background for your winter scene. Then create rolling hills by drawing a curved line along the long side of the panel. Using scissors, cut along your line, as shown in the photo. Add foam adhesive backing to the lower piece to create dimension for your hilly foreground.
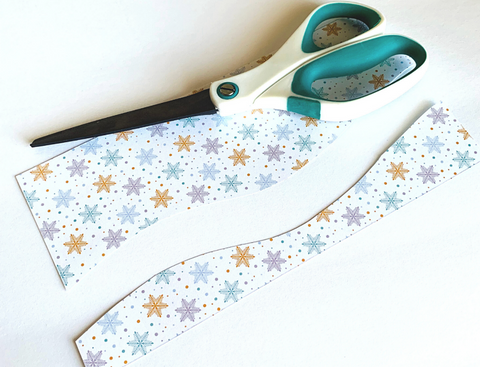
Step 2: Add Dimension and Texture to Your Background
Using white or sparkly decorative glue, draw a thin line along top edge of your hills and valleys to depict a textured snow-like effect. It's a little hard to see in the photo, but the glue adds a fun touch. But be sure to let it dry.
I also sponged a little blue ink to the bottom edge of the large piece of scrapbook paper. This adds even more depth to your scene. Now layer these pieces onto the front flap of your note card base.
Step 3: Add Some Cute Stickers to Your Christmas Card
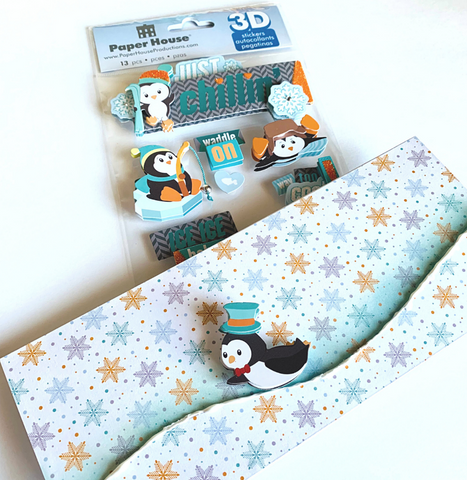
It's sticker time, and 3D stickers will really make your landscape scene pop with interest! I chose two penguins from the Just Chillin’ 3D Scrapbook Stickers. Not only are they super cute, they coordinate perfectly with the Just Chillin’ Tags Scrapbook Paper.
Step 4: Add MORE Cute Stickers
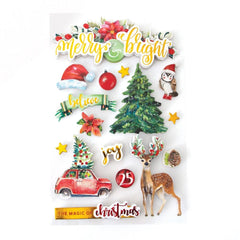
I also added a few puffy sticker accents from the Baby It’s Cold Puffy Stickers, as well as beautiful tree from the Merry & Bright II 3D Scrapbook Stickers. I really like the way theses different materials and textures work together to complete my scene.
Last but not least, I cut out a sentiment from the Snow Much Fun Tags Scrapbook Paper and attached it to the top edge of my card. I place it slightly off-center, nestling over the the valley of my landscape for balance.


Who wouldn’t be delighted to receive this adorable Christmas card -- with or without cash inside!
Project 2: Easiest Handmade Gift Tag… ever!!
This gift tag is so simple it doesn’t require any explanation! 😄
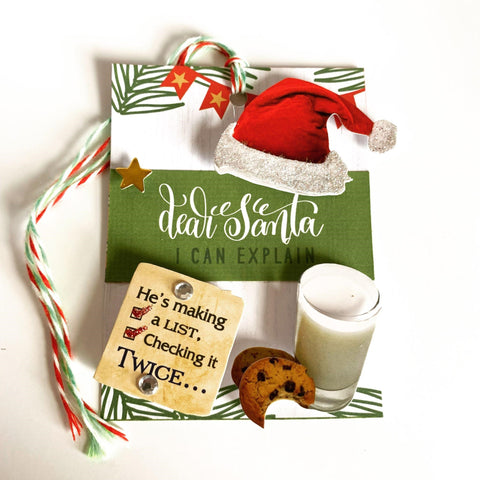
I cut the Dear Santa, I can explain sentiment from the Merry & Bring Tags Scrapbook paper. Depending on the occasion, you can also use any of Paper House Productions’ tags scrapbook papers. The tags papers are so versatile!
After that, just add 3D scrapbook stickers and a string. Presto… you have an awesome gift tag for any type of gift!
Products used for the tag above:
- The base and the sentiment: Merry & Bright Tags Scrapbook Paper
- 3D stickers: Waiting for Santa 3D Scrapbook Stickers
Hope you guys liked the Christmas-themed inspiration.
How many of you are going to get a head start this Christmas? Whenever you do, please share your creations at Paper House Creates.


